Introduction: Replacing your car’s AC compressor at home can be a rewarding DIY project. However, it requires careful attention to detail and a basic understanding of automotive systems. This step-by-step guide will walk you through the process of replacing your AC compressor, highlighting important considerations such as inspecting seals, choosing the right replacement kit, and more. https://amzn.to/43e5RoY
Note: This guide assumes that you have the necessary tools and basic knowledge of automotive repairs. If you are unsure or uncomfortable with any step, it is recommended to seek professional assistance.
The above video is just a guide on some of the things to look out for when replacing your car AC compressor, the article has a more detailed step by step guide to follow when replacing your compressor.
Step 1: Gather the Required Tools and Materials Before starting the replacement process, make sure you have the following tools and materials on hand:
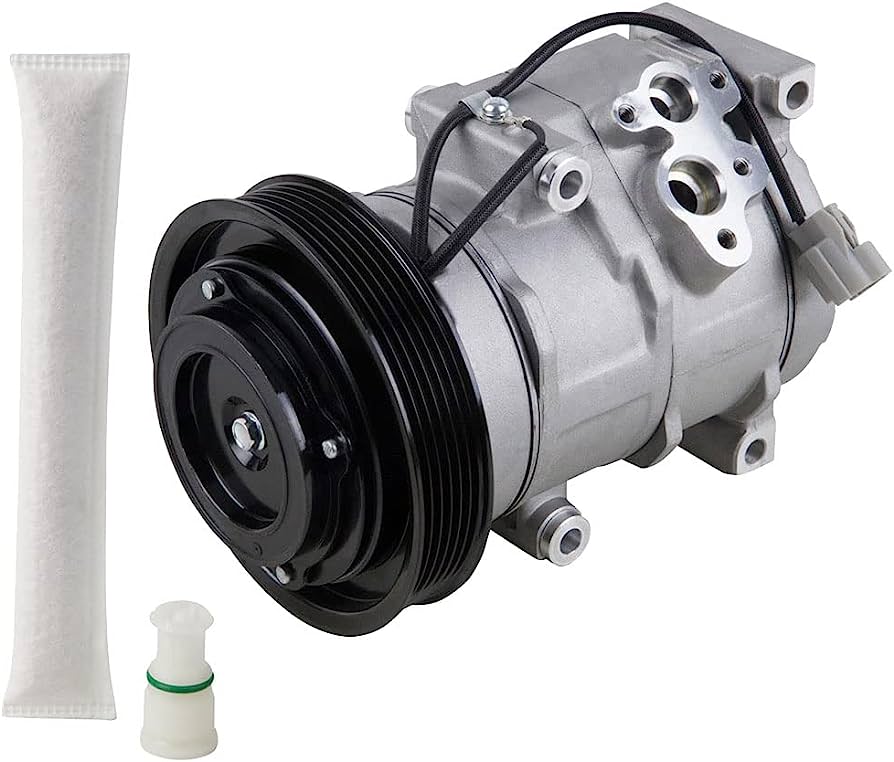
- Replacement AC compressor kit
- Wrenches and sockets (appropriate sizes for your vehicle)
- Screwdrivers (flathead and Phillips)
- Pliers
- O-ring and seal kit
- Refrigerant recovery machine or vacuum pump
- Safety goggles and gloves
- 7/32 socket (if you compressor has an adapter)
- R-134a refrigerant (if needed)
Step 2: Diagnose and Confirm the AC Compressor Failure Ensure that the AC compressor is the root cause of your cooling issues. Conduct a thorough diagnostic assessment, checking for signs of a faulty compressor, such as strange noises, lack of cool air, or compressor clutch failure. Consult a repair manual or seek professional advice if needed.
Step 3: Remove Refrigerant from the System To comply with environmental regulations and prevent refrigerant leakage, it is crucial to remove the refrigerant from the system before replacing the AC compressor. Follow the instructions provided by the refrigerant recovery machine or vacuum pump manufacturer to safely evacuate the refrigerant.
Step 4: Inspect Seals and Components While the AC system is depressurized, inspect the seals and other components for signs of wear or damage. Replace any worn-out or damaged seals, including O-rings, gaskets, and seals on the compressor fittings and connections. Ensure a proper seal is maintained throughout the system.
Step 5: Remove the Old AC Compressor Disconnect the negative battery cable to avoid electrical accidents. Using appropriate tools, remove the drive belt, electrical connectors, and mounting bolts holding the compressor in place. Take note of the compressor’s position and orientation to ensure correct installation of the new compressor.
Step 6: Prepare the New AC Compressor Take the new AC compressor out of the packaging and compare it to the old one to ensure it matches in size and configuration. Transfer any necessary components from the old compressor to the new one, such as the clutch, pulley, and mounting brackets.
Step 7: Install the New AC Compressor Position the new compressor in the correct orientation and reconnect the electrical connectors, mounting bolts, and drive belt. Tighten the bolts to the manufacturer’s specifications, but avoid over-tightening. Ensure all connections are secure.
Step 8: Replace Receiver-Drier or Accumulator Consider replacing the receiver-drier or accumulator while the system is open. These components help remove moisture and contaminants from the system. Follow the manufacturer’s instructions for proper installation.
Step 9: Vacuum and Recharge the System Using a vacuum pump, evacuate the AC system to remove any remaining air and moisture. Follow the recommended vacuum duration specified in the repair manual. Once vacuumed, recharge the system with the appropriate amount of refrigerant specified for your vehicle. Refer to the manufacturer’s guidelines or seek professional advice if needed.
Step 10: Test the AC System Reconnect the negative battery cable and start the vehicle. Turn on the AC system and check for proper cooling performance. Listen for any unusual noises and monitor for leaks or irregularities. If necessary, make adjustments or seek professional assistance.
Conclusion: Replacing your car’s AC compressor at home can be a rewarding and cost-effective endeavor. By following this step-by-step guide, inspecting seals, selecting the right replacement kit, and ensuring proper installation and system maintenance, you can enjoy a comfortable and efficient AC system. Remember to prioritize safety, take your time, and seek professional help if you encounter any challenges during the process.
If you have a Honda guideline and wants to buy an ac compressor, here is the link to get one.
https://amzn.to/43e5RoY